Mideye Server 4 SSL/TLS Certificate Management
Overview
Section titled “Overview”Mideye Server uses HTTPS to secure the Web Admin interface. By default, a self-signed certificate is generated during installation. This guide explains how to replace it with a CA-signed certificate or configure client certificate authentication.
Use this guide to:
- Generate a new self-signed certificate
- Replace the default certificate with a CA-signed certificate (PFX or JKS format)
- Enable client certificate authentication for Web Admin access
- Troubleshoot certificate and HTTPS issues
Generate a New Self-Signed Certificate
Section titled “Generate a New Self-Signed Certificate”Mideye Server includes a self-signed certificate for HTTPS. To regenerate it, run this command from the Mideye Server bin directory:
MideyeWebConfig configure serverReplace with a CA-Signed Certificate
Section titled “Replace with a CA-Signed Certificate”Two certificate formats are supported:
| Format | Best For | File Extension |
|---|---|---|
| PFX/PKCS12 | Windows environments, IIS-generated certificates | .pfx, .p12 |
| JKS/JCEKS | Java keystores, existing enterprise PKI | .jks, .keystore |
Option 1: PFX (PKCS12) Certificate
Section titled “Option 1: PFX (PKCS12) Certificate”Use this method if you have a Windows CA or need to generate a certificate via IIS.
Step 1: Generate the Certificate in IIS
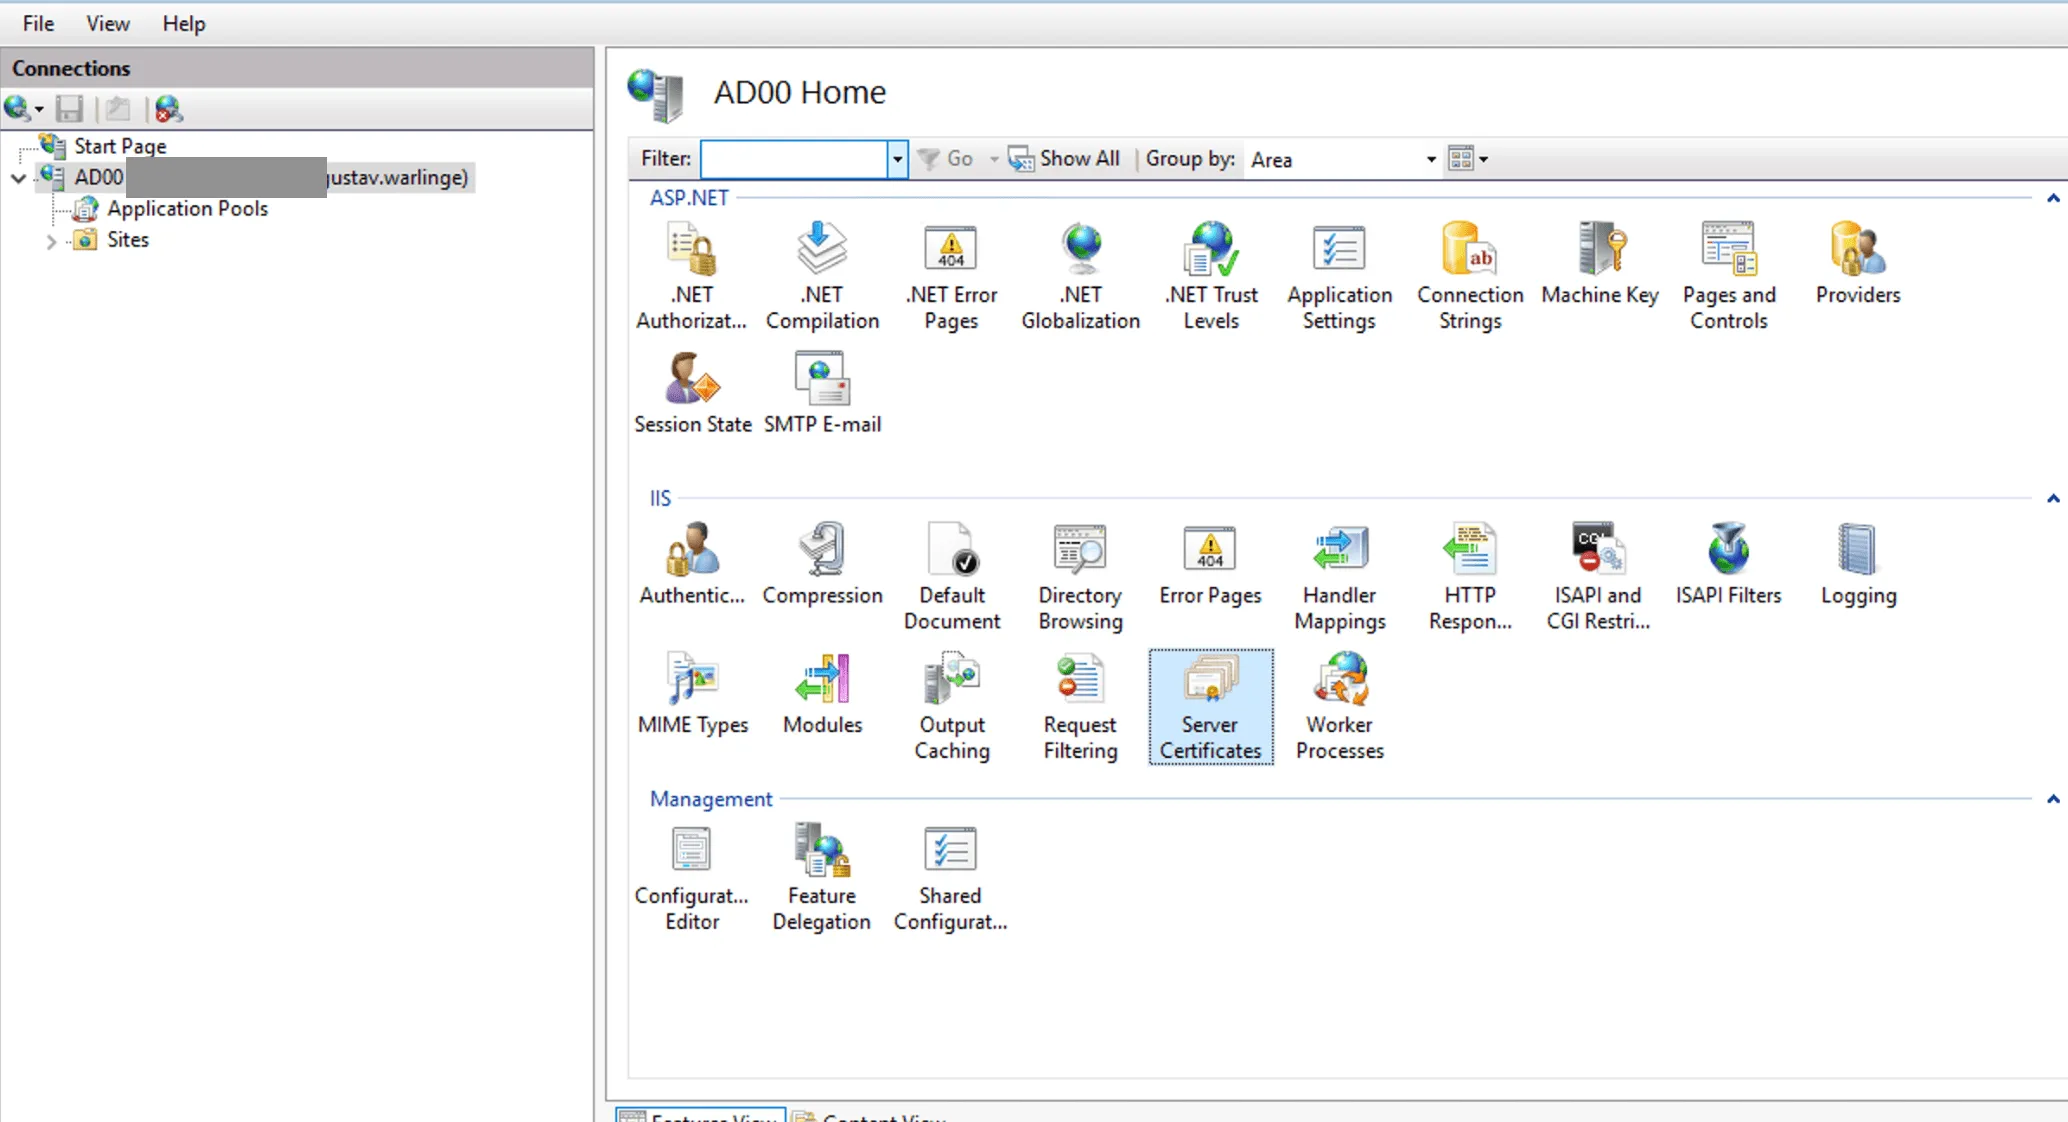
Section titled “Step 1: Generate the Certificate in IIS”- Open Internet Information Services (IIS) Manager
- Select the server root and open Server Certificates
- Click Create Domain Certificate in the Actions panel
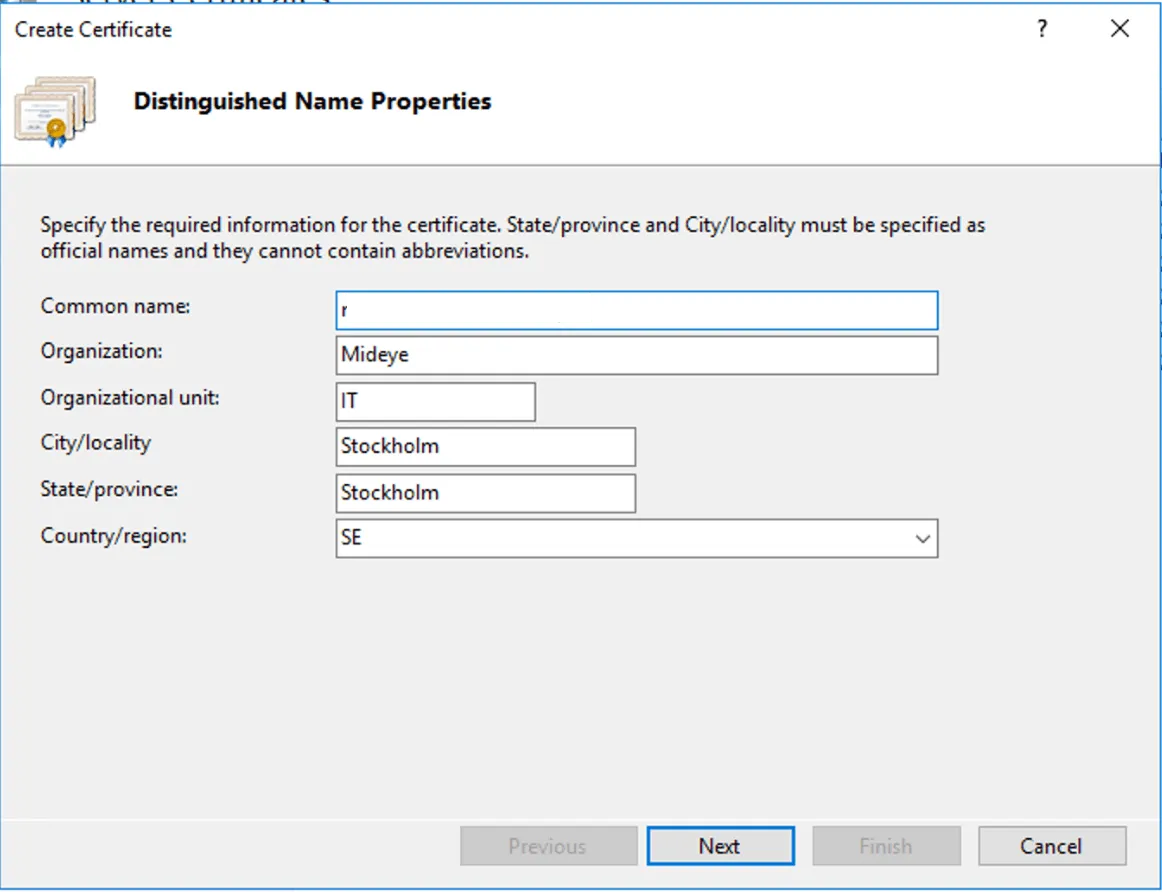
- Enter the certificate details:
- Common name: FQDN of the Web Admin URL (e.g.,
mideye.company.com) - Fill in Organization, City, State, Country
- Common name: FQDN of the Web Admin URL (e.g.,
- Click Next
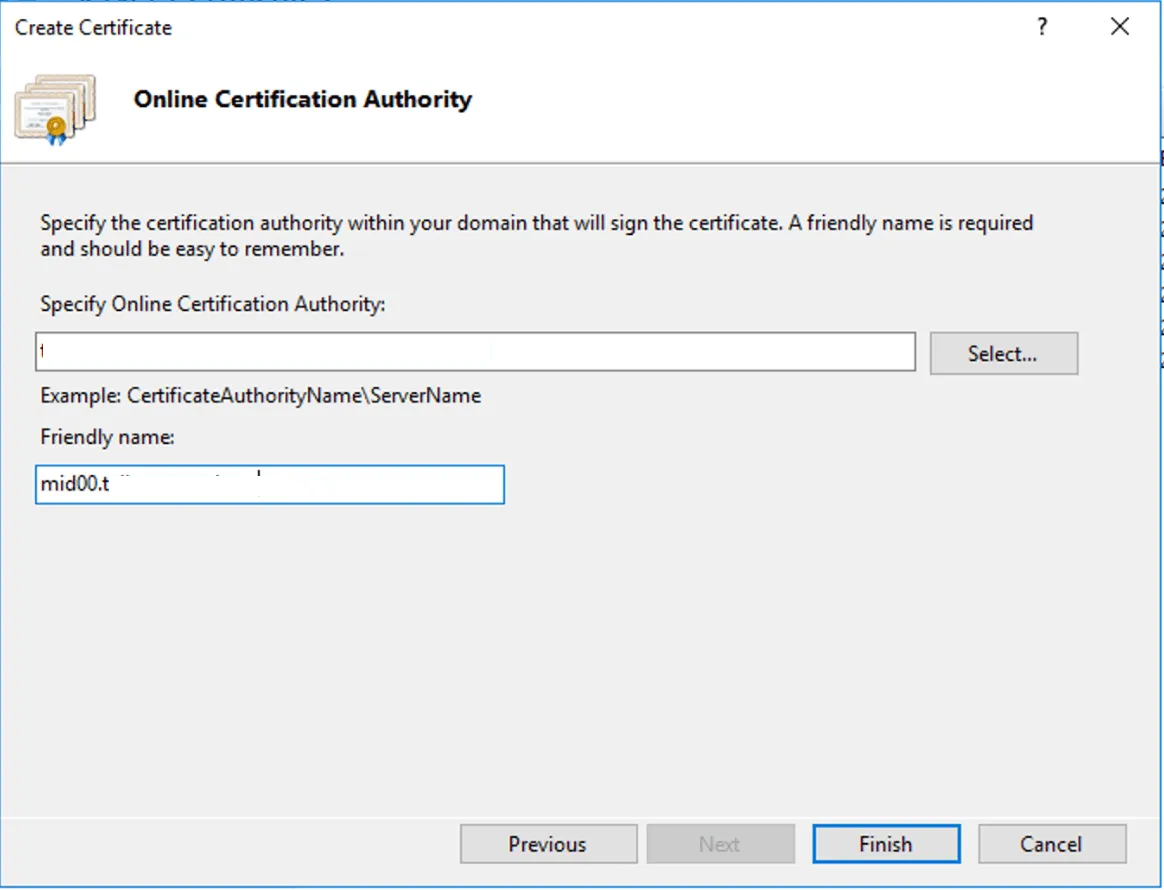
- Select your Certificate Authority and enter a Friendly name
- Click Finish
Step 2: Export and Install the Certificate
Section titled “Step 2: Export and Install the Certificate”- Right-click the certificate and select Export
- Set a password (you’ll need this for
server.xml) - Save the file
- Copy the PFX file to:
C:\Program Files (x86)\Mideye Server\certificates\<filename>.pfx
Step 3: Configure server.xml
Section titled “Step 3: Configure server.xml”-
Backup
server.xmlbefore editing:C:\Program Files (x86)\Mideye Server\webserver\conf\server.xml -
Open
server.xmlwith a text editor (run as Administrator) -
Find the
<Connector port="8443"...>section at the end of the file -
Replace the keystore configuration:
Original (self-signed):
truststorePass="hN+JeFqq5hSsNaw" sslEnabledProtocols="TLSv1.2"keystoreFile="C:\Program Files (x86)\Mideye Server\certificates\webserver_https.keystore"truststoreFile="C:\Program Files (x86)\Mideye Server\certificates\webserver_https.keystore"keystorePass="hN+JeFqq5hSsNaw" maxThreads="150"useServerCipherSuitesOrder="true" clientAuth="false">New (PFX certificate):
sslEnabledProtocols="TLSv1.2"keystoreFile="C:\Program Files (x86)\Mideye Server\certificates\<your-cert>.pfx"keystoreType="PKCS12"keystorePass="<your-password>"maxThreads="150" useServerCipherSuitesOrder="true" clientAuth="false"> -
Restart the Apache TomEE service
Option 2: JKS/JCEKS Keystore
Section titled “Option 2: JKS/JCEKS Keystore”Use this method if you have an existing Java keystore.
-
Backup the existing keystore:
C:\Program Files (x86)\Mideye Server\certificates\webserver_https.keystore -
Replace the keystore file with your custom certificate, naming it
webserver_https.keystore -
Edit
server.xml:- Location:
C:\Program Files (x86)\Mideye Server\webserver\conf\server.xml - Find
<Connector port="8443"...> - Update
truststorePassandkeystorePasswith your keystore password
- Location:
-
Restart the Apache TomEE service
Enable Client Certificate Authentication
Section titled “Enable Client Certificate Authentication”For additional security, you can require administrators to present a client certificate when accessing the Web Admin. This provides mutual TLS (mTLS) authentication.
Generate a Client Certificate
Section titled “Generate a Client Certificate”-
Open Command Prompt and navigate to the Mideye Server installation directory
-
Run:
Terminal window MideyeWebConfig configure client -
The command creates:
C:\Program Files (x86)\Mideye Server\certificates\client.p12 -
Note the password displayed in the command prompt — you’ll need it to import the certificate
-
Restart the Apache TomEE service
Distribute the Client Certificate
Section titled “Distribute the Client Certificate”Each administrator must import client.p12 into their browser:
| Browser | Import Location |
|---|---|
| Chrome/Edge | Settings → Privacy and security → Security → Manage certificates |
| Firefox | Settings → Privacy & Security → Certificates → View Certificates → Import |
Troubleshooting
Section titled “Troubleshooting”Web Admin Not Accessible
Section titled “Web Admin Not Accessible”| Step | Action |
|---|---|
| 1 | Verify Apache TomEE service is running |
| 2 | Restart the TomEE service |
| 3 | Open Configuration Tool → Database Connection → click Save → Close |
| 4 | Restart Mideye services |
| 5 | Clear browser cache and retry |
Verify Port Is Listening
Section titled “Verify Port Is Listening”Windows:
netstat -aon | find /i "8443"Linux:
netstat -tnlp | grep 8443If port 8443 is not listed, the TomEE service failed to start or the certificate is invalid.
Certificate Issues After Upgrade
Section titled “Certificate Issues After Upgrade”If the Web Admin stops working after an upgrade:
- Generate a new self-signed certificate:
Terminal window MideyeWebConfig configure server - Restart Apache TomEE
- Re-apply any custom certificates if needed